May 5th, 2014
Bloom Shader
The effect has been well described as it is a rather simple effect to create and it require 1 extra pass of the draw call.
The Effect
The inspiration for this effect is the Burmecia scene from Square’s Final Fantasy IX (Released for PlayStation in 2000), in this area of the game the scenes are all raining and set during a later time of day, so we have a dark, wet environment with what we can presume is moon-light creating the scene.
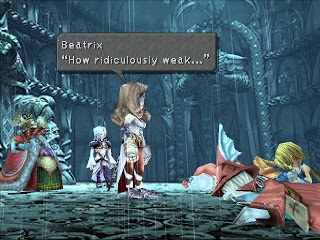
In this shot, we can see that the characters with lighter costumes appear to have a glow on them, this effect wasn’t very easy to do on the original PlayStation so I would guess that the game simply does a texture swap or a palette swap to lighten certain areas of textures, or perhaps I am wrong and there is no effect but it is insinuated with the tone of the background scene.
I plan to have a similar effect for rainy and dark scenes in Battle World, so using this as my inspiration I went and created a real glow effect.
Battle World RPG’s Implementation
Straight away I began by implementing a second layer to the materials of the objects in the game, this layer is called the glow layer and it is a texture that simply highlights the areas that we want to glow with the desired colour of the glow.
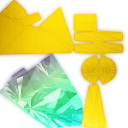
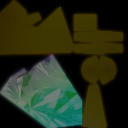
The base texture and the glow texture of Gus’ Diamond-Blade model. For this texture I set the alpha to black, increased the colour contrast and then applied a 50% alpha black texture on top to darken the entire image, this reduces the strength of the glow.
Render Pass One
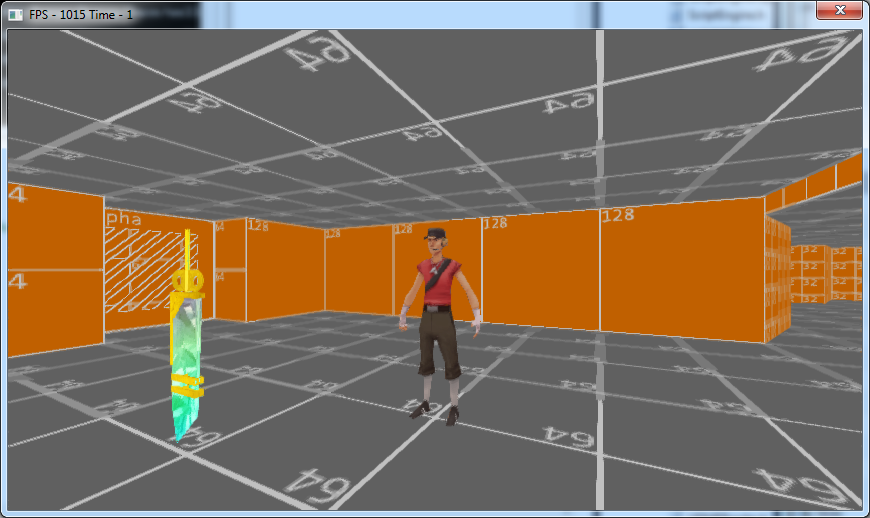
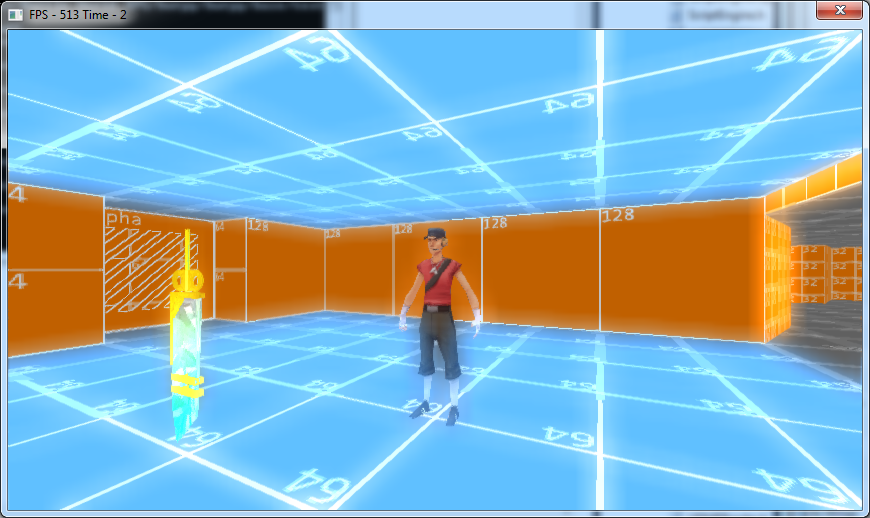
The first step is to render the world normally.
[Credit to Tommy Tallian for the low-poly TF2 scout model, used for testing]
Render Pass Two
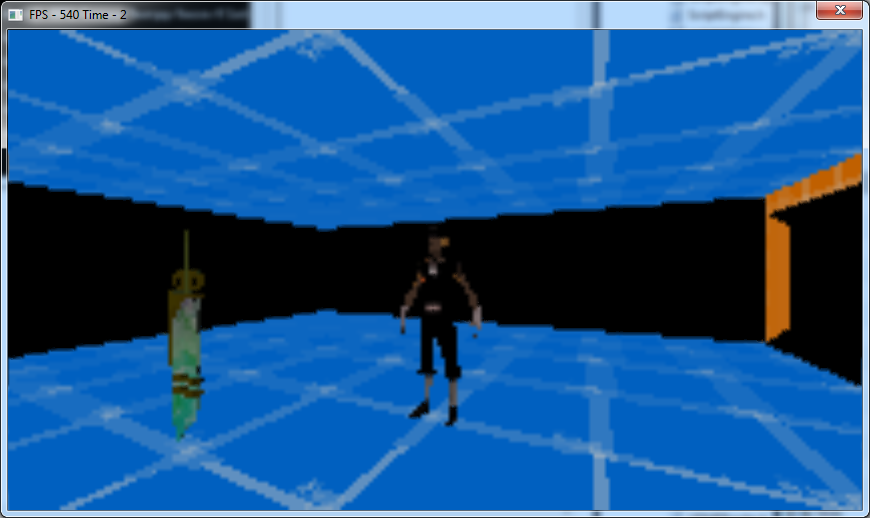
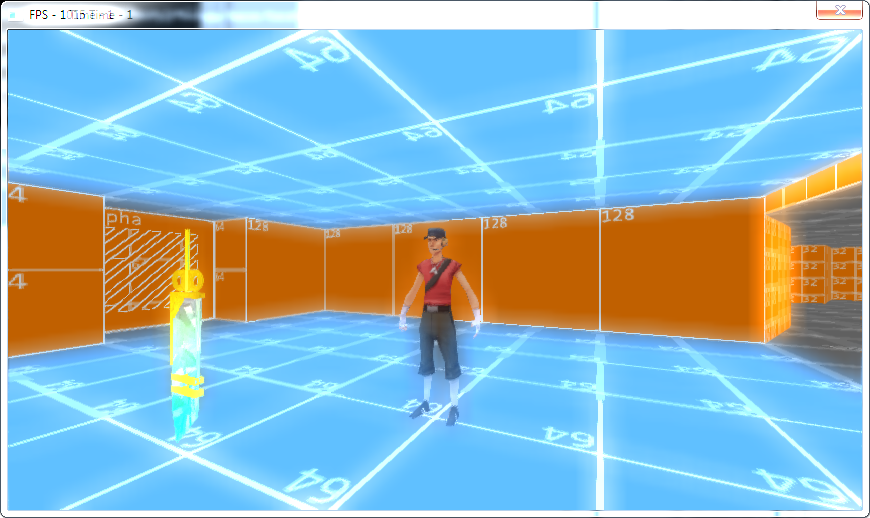
We then render the world again using the glow-layer of all the objects, I actually render this stage to a buffer that is 1/4 of the size of the colour buffer, this creates a blur on it’s own and reduces the performance cost of the next stages. Please ignore the frame-rate as this is still a WIP effect.
Render Pass Three
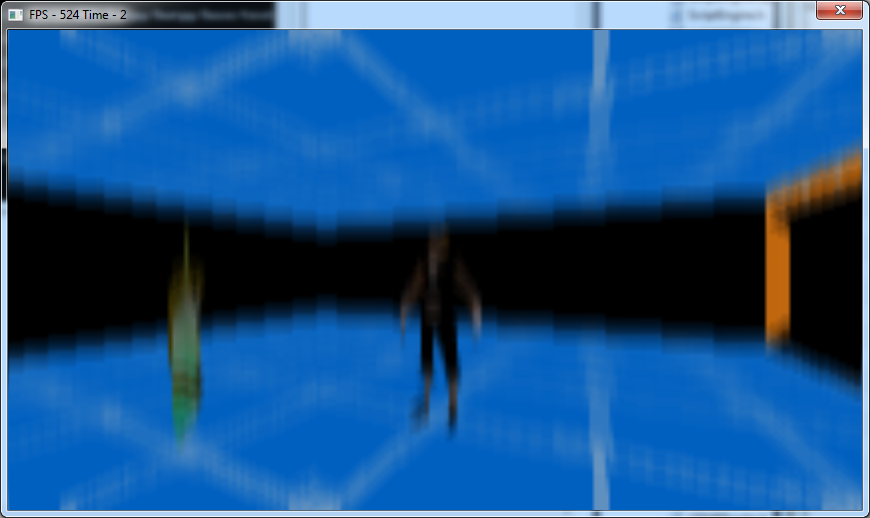
This is one of two intensive blur effects, first I blur the glow buffer vertically.
Render Pass Four
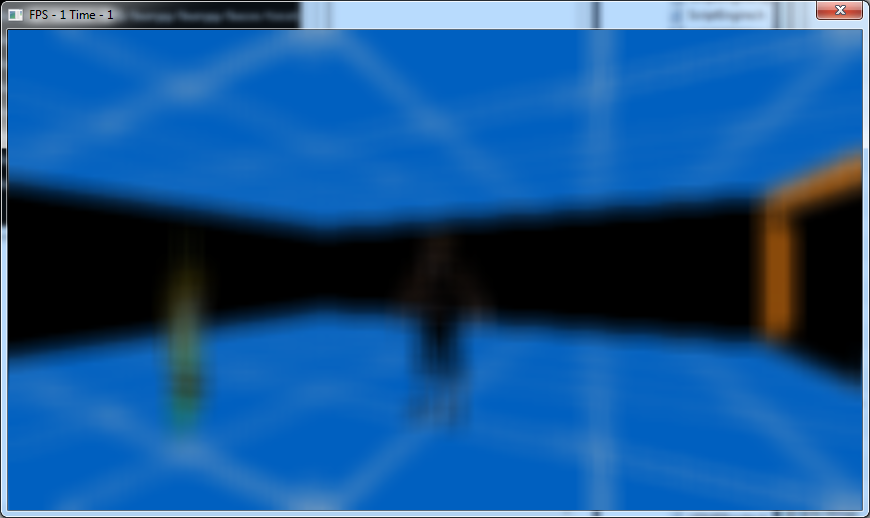
Then I blur the buffer again horizontally.
Final Pass
Finally, I use an additive blend to apply the glow-map onto the colour buffer.
Trivia
You can actually take the first pass and blend the fourth pass together in photoshop with additive blend to get the exact same result.
